

Not yet published: imported
Patterns ·
Knitting Decreases You've Never Heard Of
There are many different foundational stitches, but some of the most important types of stitches you can knit are...
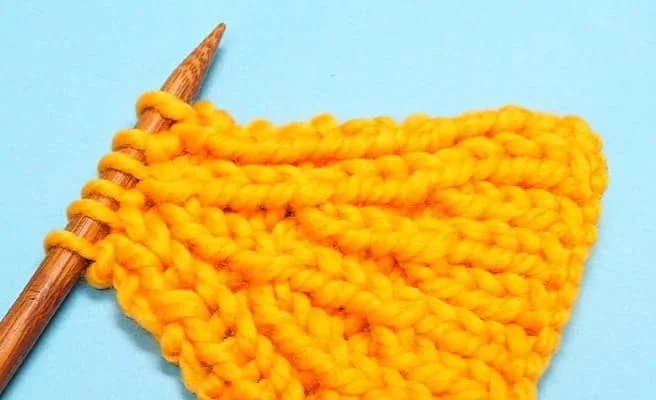
There are many different foundational stitches, but some of the most important types of stitches you can knit are…
Decreases.
Why are decreases more important than increases?
Well most garments are shaped with decreases.
Knitting a hat?
Decreases shape the crown.
Knitting a sock cuff down?
Decreases shape the toe.
Knitting a set-in sleeve sweater in pieces?
Decreases shape the arm holes, collar, and sleeves.
Sure, you can use increases for shaping, but decreases are MUCH more common.
Speaking of commonality…
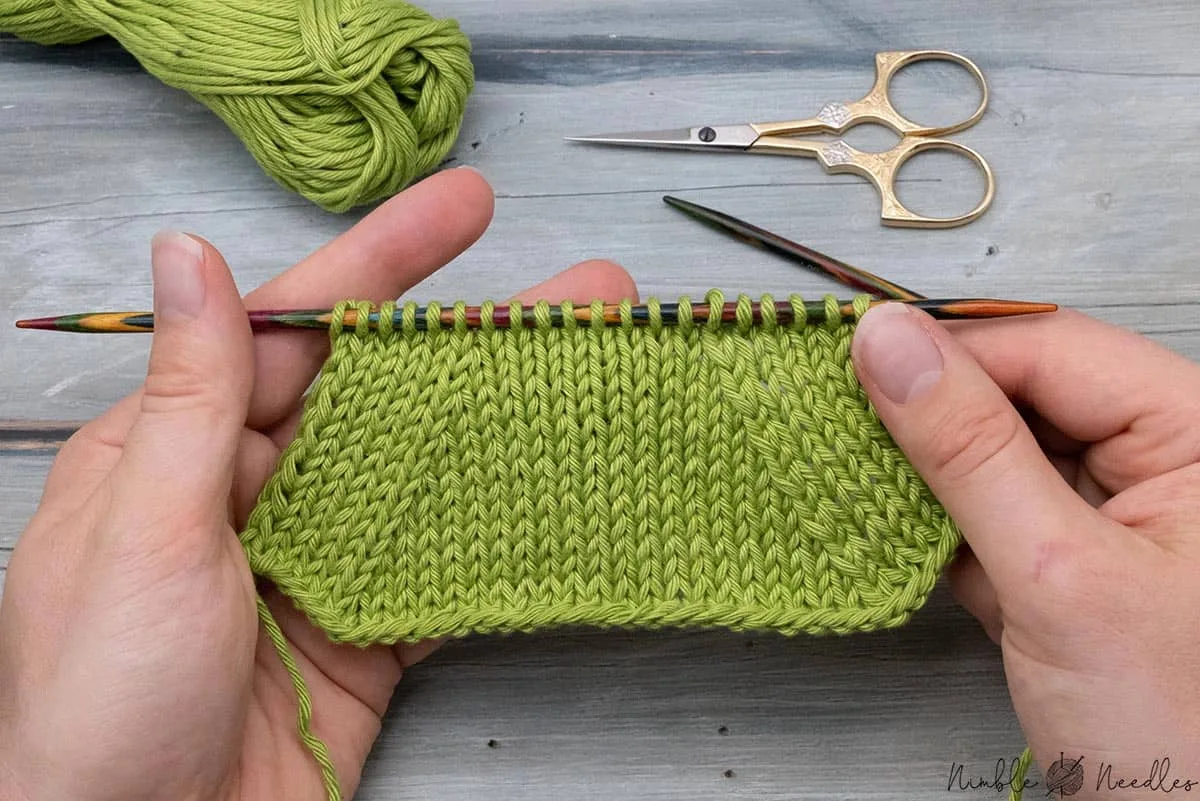
The Most Common Knitting Decreases
There are many ways to make a decrease, however almost all decreases do one of two things; lean left or lean right.
This is part of how we shape our fabric, and the direction of a decrease can be an important part of a design.
Often we pair decreases like when shaping a sleeve or in some hat patterns.
To do this you’ll use something like a Knit Two Together (K2TOG) which leans to the right and a Slip Slip Knit (SSK) which leans to the left.
However, while there is basically only one right leaning decrease, there are a bunch of left leaning decreases.
We’re not going to go into those today but this article from Nerdy Knitter covers the most common ones.
What I’m focusing on instead are some decrease techniques you may not have come across before.
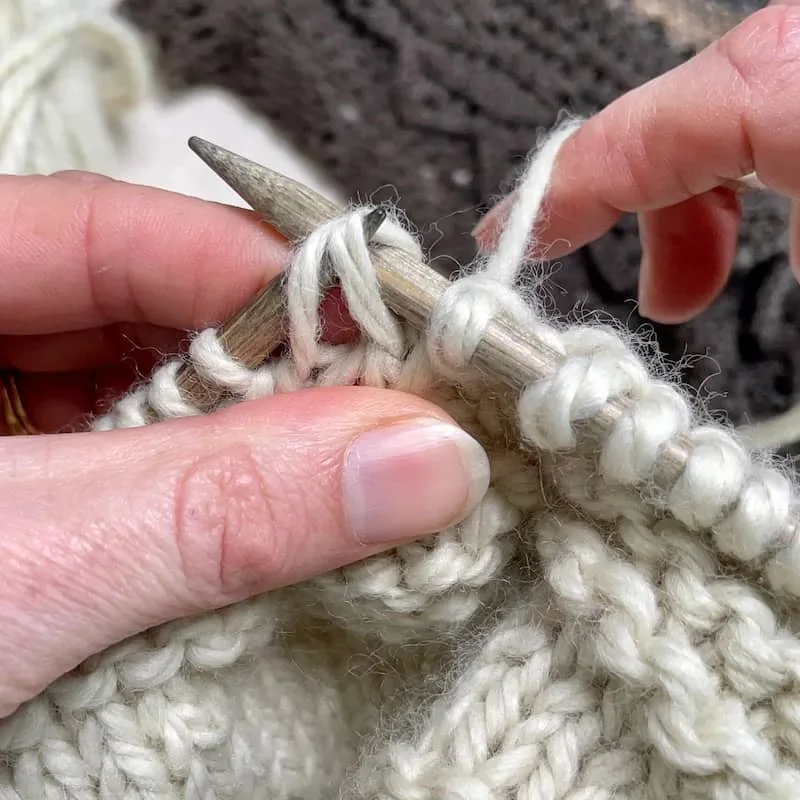
Alternate Slip Slip Knit / Slip Slip Purl Knit (SSpK)
The Slip Slip Knit has become the modern method of creating a left learning decrease.
It’s nice and tight and matches a K2Tog pretty well.
With almost all decreases you should slip your stitches knitwise.
This twists the stitch so it lays flat on the knitting, making it look more seamless.
But with this alternate version of the SSK instead of slipping both stitches knitwise, you only slip the first knitwise.
By leaving the second stitch slipped purlwise you shorten the length of that stitch. This results in a decrease that lays even flatter with the fabric.
It’s a simple change to make, but it looks a lot nicer than the original.
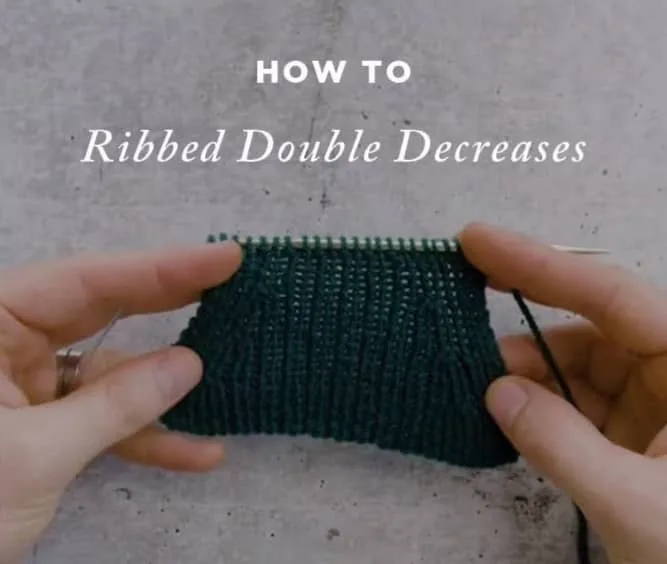
Ribbed Double Decrease
Now you may not have encountered this problem before, but if you’ve ever tried to decrease ribbing it can be a little bit of a mind bender.
The problem is if you want your ribbing to look nice you need to decrease two stitches at once.
That’s because 1x1 ribbing is a 2 stitch pattern. If you only remove 1 stitch you’ll break the pattern.
This means you have to remove 2 stitches at the same time in order to keep the pattern in tact.
But, you also have to remove stitches in a way that maintains the knit purl rib pattern.
That’s where the Ribbed Double Decrease comes in to play.
Center Single Decrease / Bunny Ear Decrease
Now you’ll notice I’ve said up to this point that MOST decrease stitches lean left or right.
But is it possible to decrease a single stitch without a it leaning at all?
Yup!
It’s not the easiest decrease to perform, but because it takes three stitches and turns them into two, it doesn’t need to lean one way or the other.
One caveat with this decrease is it can’t be stacked, so it’s better to stagger this decrease instead.
While it’s not exactly invisible, it is pretty subtle.
Conclusion
There’s lots of ways to decrease, but these are some unusual options that are pretty useful in the right situation.
But what do you think?
Have you used any of these decreases?
Do you have any shaping hacks we should know about?