

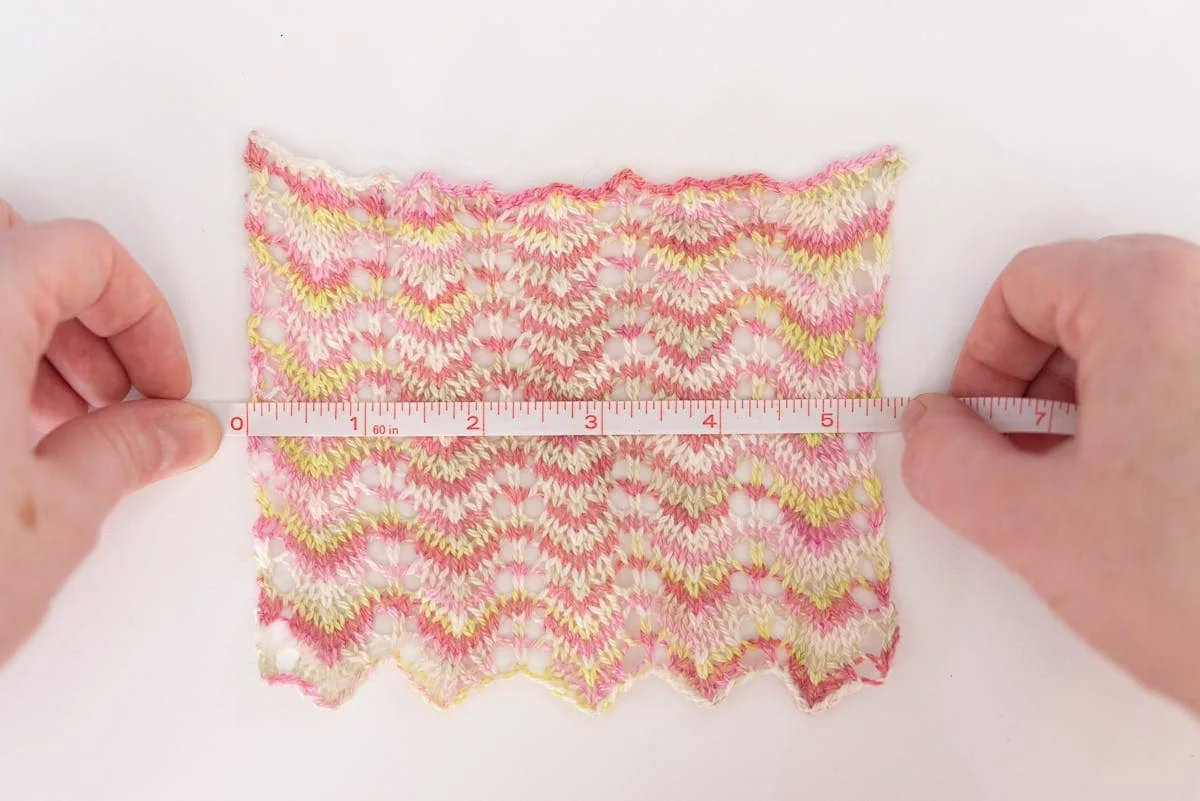
One big challenge that comes with knitting lace is figuring out how to measure gauge.
Knowing your gauge is essential to knits that fit well.
If you’re making a light weight cardigan with lace panels, you have to measure the lace to get the best fit.
Why not measure stockinette or garter stitch?
Lace panels have more variation. The constant adding and removing of stitches changes how the fabric behaves..
This means you’ll get a more accurate measurement using the stitch pattern. It is better than using a simple stitch.
But that’s easier said than done.
Measuring lace can be tricky, so here are a few tips to help you out…
Tip #1: Knit A Swatch that’s big enough
Most gauge is measured across 4 inches (10cm) which means you need a swatch that is bigger than that.
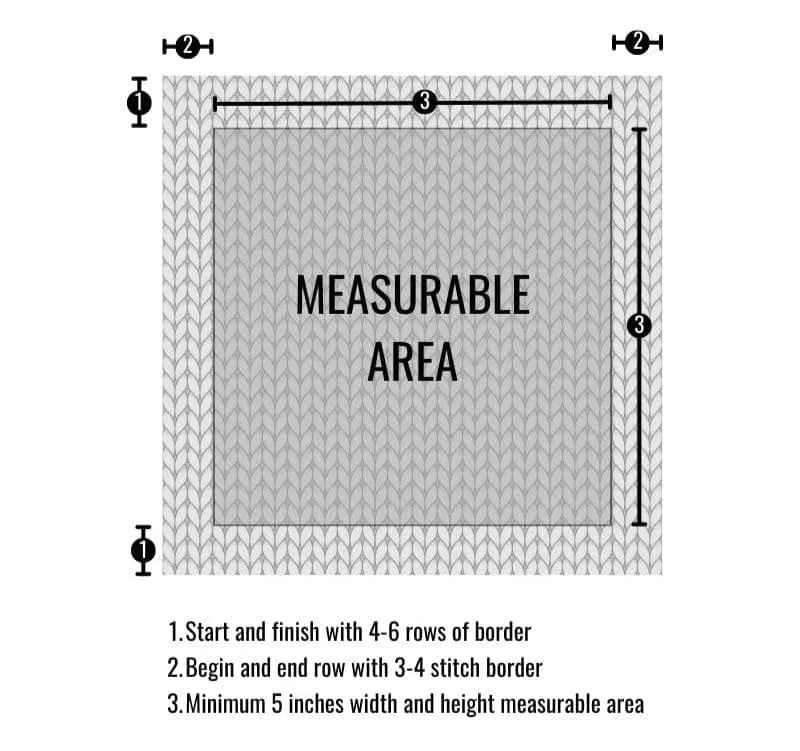
Some people like to knit a small border of garter or seed stitch around the edges. This adds extra stability to the swatch.
If you want to do that, knit 4-6 rows at the bottom and top of the swatch, and 3-4 stitches at the beginning AND end of the row.
Your swatch should have enough space to measure 6 inches horizontally and vertically.
Using the ball band, you can get an idea of how many stitches per inch you will get using the recommended needle size.
That’s a good place to start if you’re not sure how many stitches to cast on.
Then you’ll want to account for your stitch pattern repeat. If you’re not sure how to calculate that watch this video.
FINALLY, if you’re knitting your project in the round, you should also swatch in the round. Here’s how to do that.
Tip #2: Block your swatch
Blocking is an essential part of preparing to knit a project.
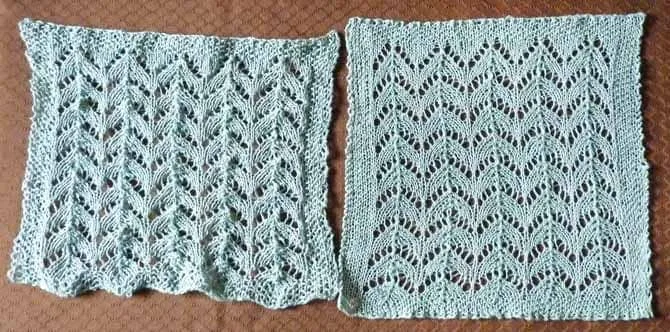
We need to measure our fabric as it will be when we have finished the project. And our project isn’t finished until we block it.
This step helps the fibers in the yarn relax, stretch, and smooth out imperfections. It’s also essential for opening up those lovely lace holes.
For most fibers wet blocking will be fine.
This is particularly important if you are making a garment that needs to fit a certain way.
With lace you will probably want some blocking pins, wires, and/or mats.
These will help the lace open up and give you a more accurate measure of gauge.
**Tip #3: Measure full lace repeats
(not just across 4 inches)**
This is a little bit of a pro tip.
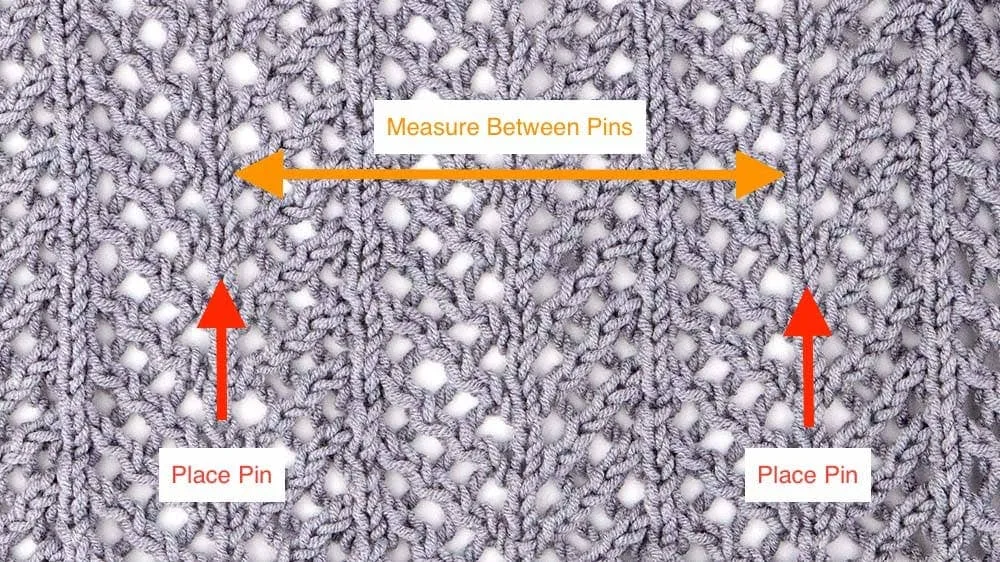
With lace, it’s a good idea to measure a couple of full pattern repeats instead of only across 4 inches.
Mark the start of your first repeat with a pin. Place it flush with the swatch, not sticking out. Then, place another pin at the end of 2 or 3 repeats.
How many repeats will depend on how big the lace repeat is. The important thing is to make sure it’s at least 4 inches.
Here’s how to calculate your gauge using this method:
Measure the number of stitches between the pins (a). Also take note how many inches there were between the pins, WITHOUT rounding (b).
Now divide the number of STITCHES (a) by the number of INCHES (b). This will be your stitches per inch (c).
Finally, if you need your stitches over 4 inches, just multiply (c) by 4.
Got that?
Here’s an example if you need some more help:
EX. (a) 27 stitches across (b) 5.25 inches = (c) 5.14 stitches per inch.
That’s 20.5 stitches over 4 inches.
Conclusion
So there you have it!
These 3 tips should help you get better gauge measurements when knitting lace.
But what do you think?
Have you had to measure lace gauge before?
How did it go?