

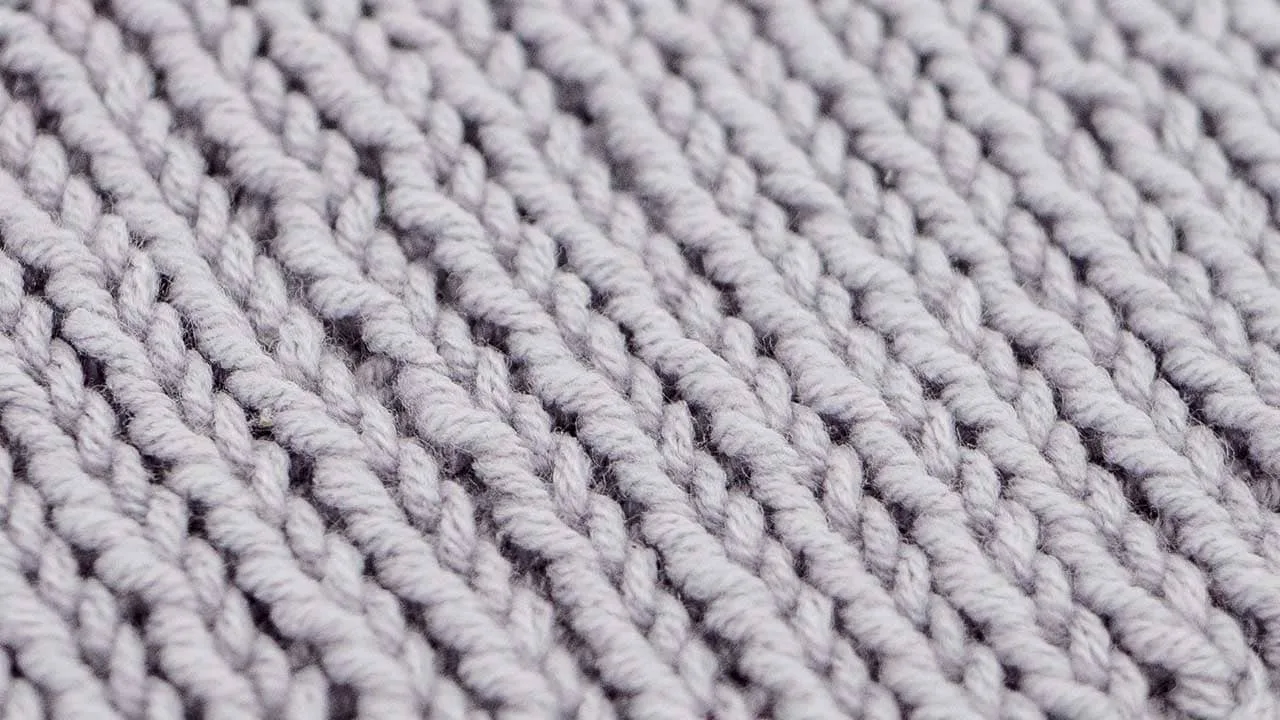
Ribbing is an essential element of many knitting patterns.
It’s unique ability to stretch and contract makes projects like hats, socks, mittens, and even sweaters work.
And while it is made from a simple combination of knits and purls, it is not without it’s own issues.
Today, instead of talking about how ribbing works, we’re going to discuss how to make it better.
The Problem with Ribbing
Before we get into fixing our ribbing we first must understand what the problem is.
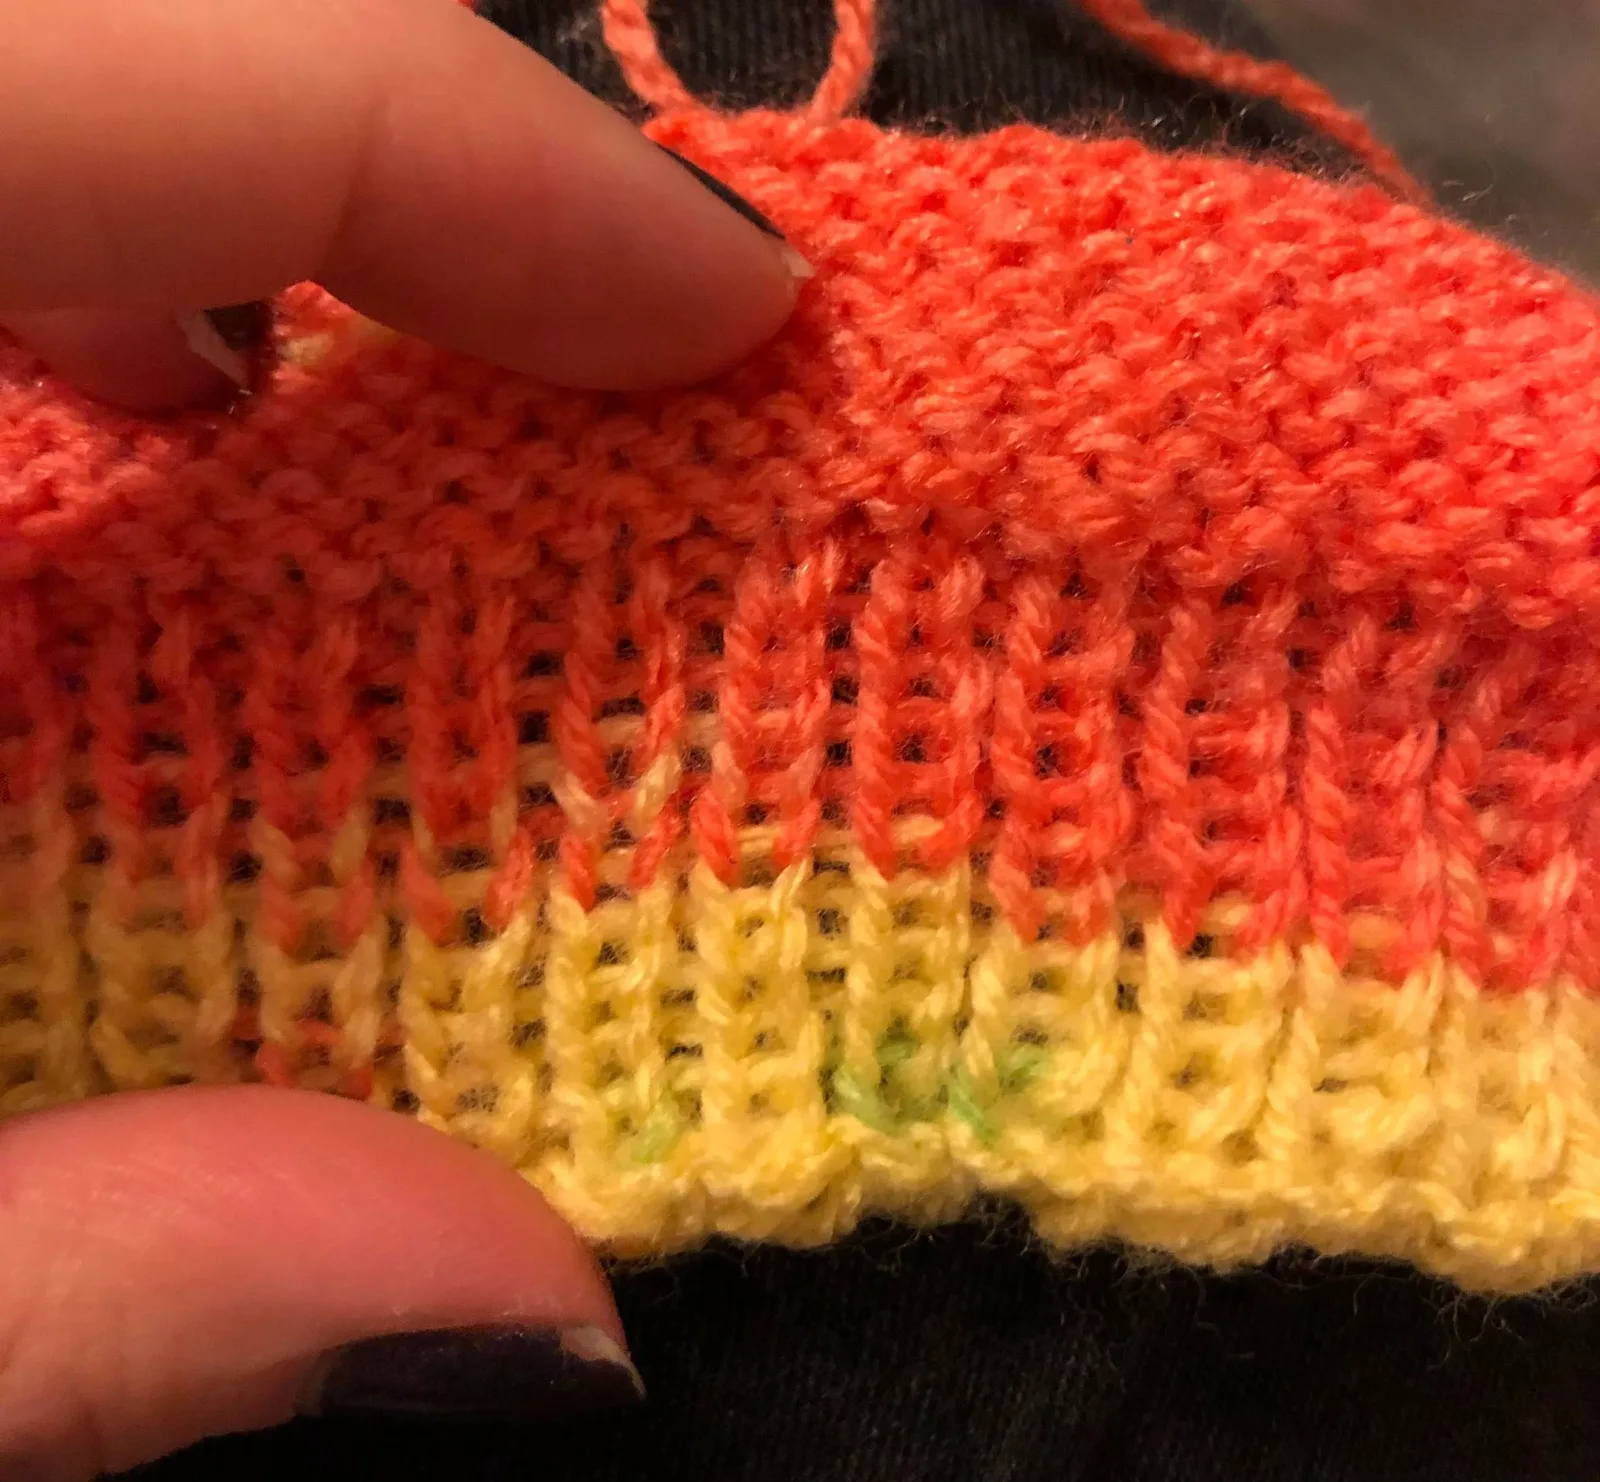
Many knitters experience ribbing that is inconsistent, flared, and just plain sloppy looking.
But it’s not your fault.
Not entirely at least.
The culprit here is slackers.
What are Slackers?
Ok, so I lied.
We are going to talk about how ribbing works.
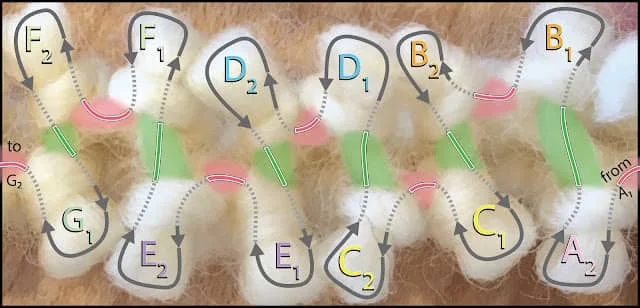
Above you can see how 2x2 ribbing forms an “S” shape when it’s not on the needle.
Unlike stockinette, which is basically flat from stitch to stitch, ribbing shifts from front to back with every change from knit to purl and back.
In the diagram we can see the two *B* stitches are on a different side of the fabric than the two *C* stitches.
There’s a short “tweener” strand (red) between those like stitches. But there’s a longer strand (green) connecting the stitches from front to back.
These green strands are the slackers and they make your ribbing look sloppy.
So how do you get rid of slackers?
Read on fellow knitter!
Fix #1: Tighten your purls
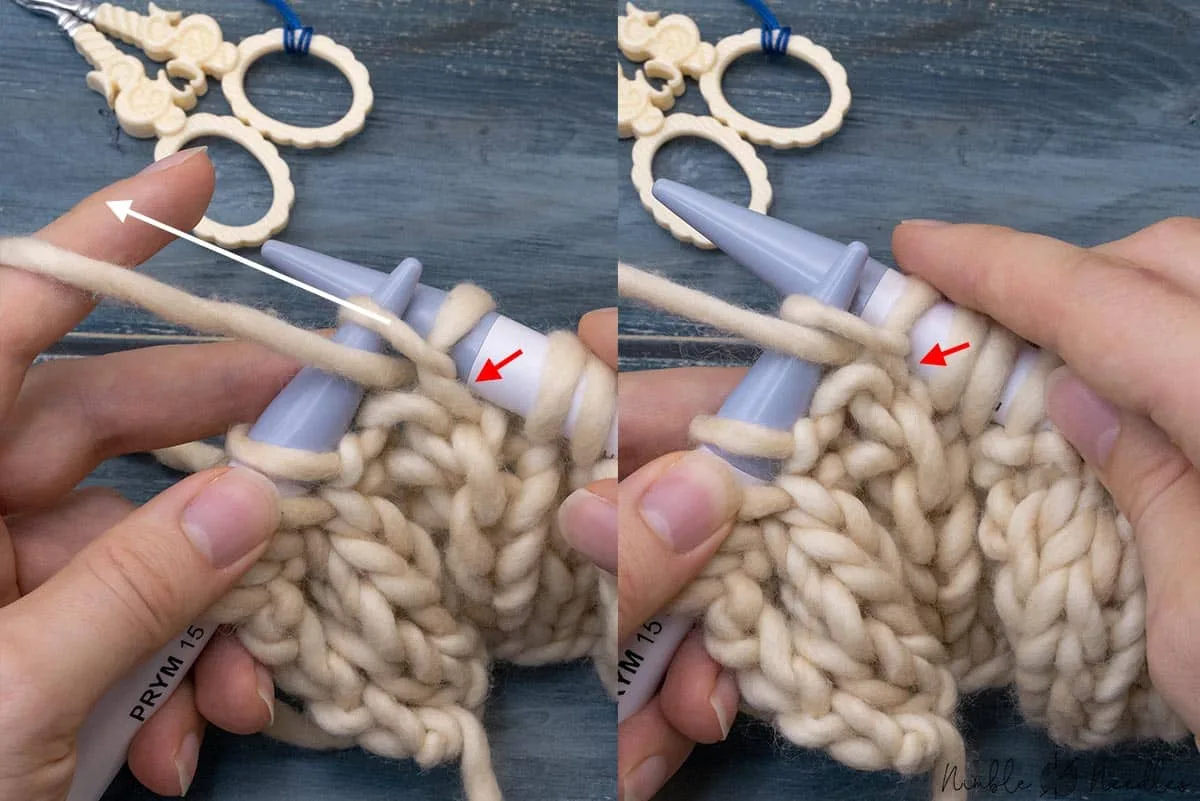
The first thing you should try is tugging on your stitch after you’ve moved from knit to purl.
This is going to reduce the amount of slack between those stitches.
However, you will be limited by the barrel size of your needle, which is why you might want to use the next fix.
Fix #2: Use a smaller needle
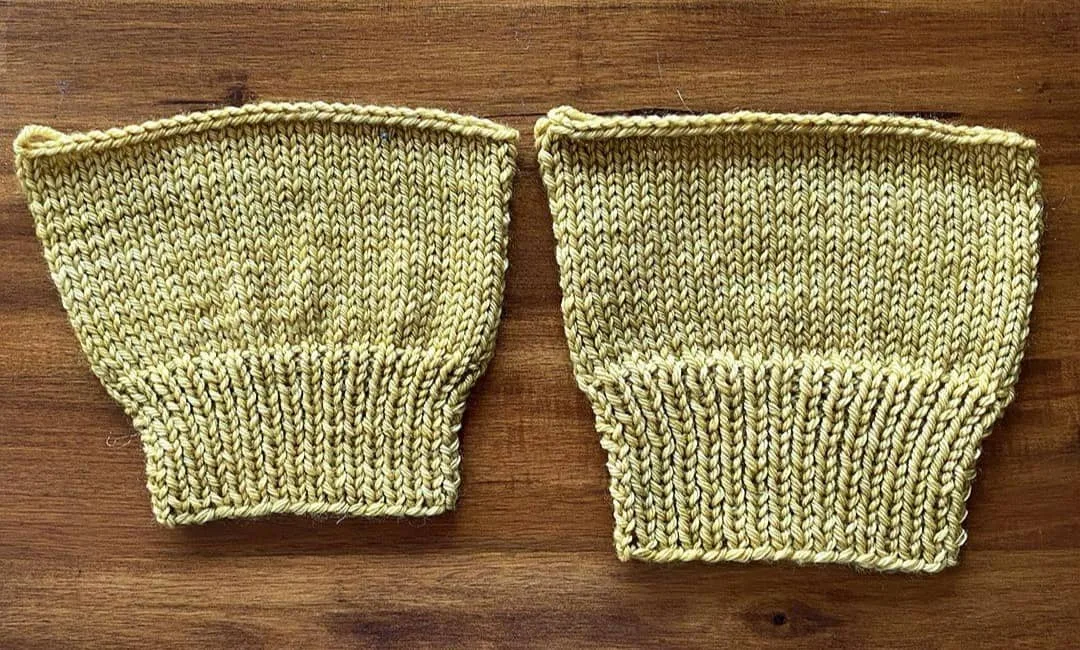
A smaller needle size (usually 1 mm smaller or two US sizes down) will give you tighter stitches.
The smaller barrel size minimizes slack between stitches, so coupling this with tightening is a good strategy.
This will also improve transitions from ribbing to stockinette fabric.
But if you don’t have a smaller needle to work with, the next tips might be for you.
Fix #3: Twisting a stitch
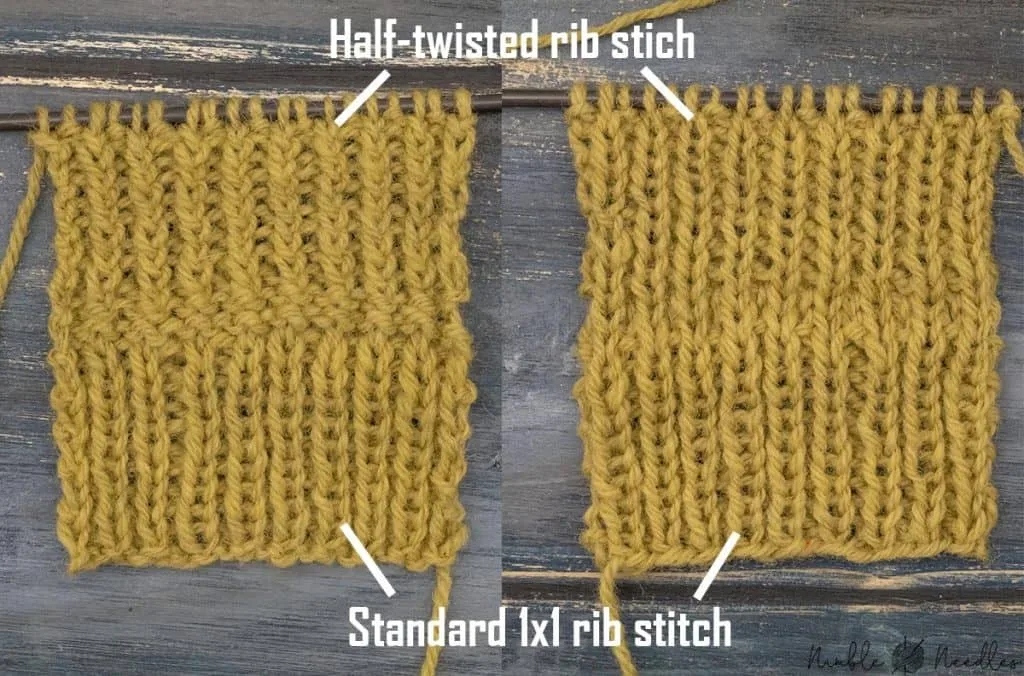
This technique requires you to work your knit stitches through the back loop. But only on the wrong side of the fabric.
Doing this will twist the stitch, thereby tightening the slack between stitches. It also provides more separation between columns in 1x1 ribbing.
This is a method I have tried myself and quite liked the result. Although it does make the ribbing a little less elastic.
If that isn’t for you, I’ve got one more option.
Fix #4: The After Slip Rib
This is a bit of an unusual technique, but it might have some of the best results.
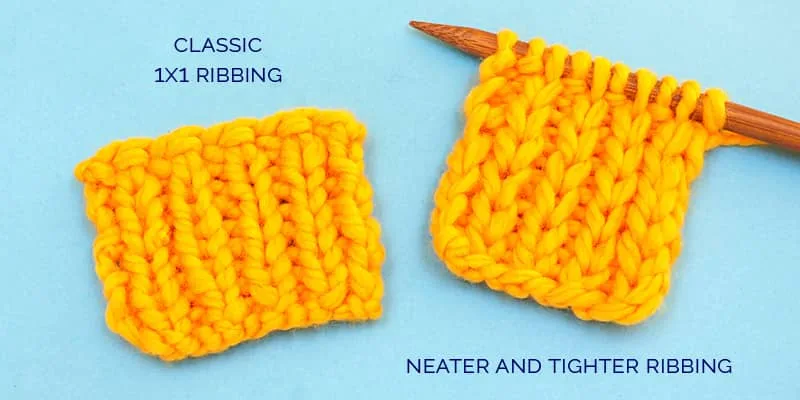
Instead of purling your purls, you slip them. Then on the next row, you pull the strand that’s left from slipping, through the unworked stitch.
Doing this there is no extra slack in the yarn, so you get nice, tight, crisp rib stitches.
It’s a bit of extra work, but the ribbing looks great.
Conclusion
There are more ways to deal with this issue.
TECHKnitter does a great job breaking down the problem in more detail, as well as why some of these solutions are not ideal.
She even offers a few solutions we didn’t go over.